Settings
Warning
The content of this article is more based on users who have a certain foundation for a computer, If you don't understand the computer. It is recommended to directly use the tutorial to Quick Start. Here is a high-level option. Some improvement of experience
1 Use Conda Environment
1.1 Download Project
git clone https://github.com/sMythicalBird/ZenlessZoneZero-Auto.git
cd ZenlessZoneZero-Auto
Warning
GPU Version And cpu version choice one,GPU version premise that you use the NVIDIA graphics card on your computer
1.2 Install Conda
Conda Divided into Anaconda and Miniconda, Anaconda is a collection version containing many commonly used libraries. Miniconda

Check whether the installation is successful
conda --version1.3 Create Conda Environment
- Open
Anaconda Prompt - Set the mirror source
conda config --add channels https://mirrors.tuna.tsinghua.edu.cn/anaconda/pkgs/free/
conda config --add channels https://mirrors.tuna.tsinghua.edu.cn/anaconda/pkgs/main/
conda config --add channels https://mirrors.tuna.tsinghua.edu.cn/anaconda/cloud/conda-forge/
conda config --set show_channel_urls yes- Create an environment(
Python 3.10)
conda create -n py310 python=3.10- Look at the environment
conda env list- Active environment
conda activate py3101.4 Installation related dependencies
# Set the mirror source tsinghua.edu
pip config set global.index-url https://pypi.tuna.tsinghua.edu.cn/simple
# Install cudatoolkit
conda install cudatoolkit=11.8
# Install cudnn
conda install cudnn=8.9.7.29
# Install GPU dependencies
pip install -r requirements-dml.txt# 设置镜像源为 清华源
pip config set global.index-url https://pypi.tuna.tsinghua.edu.cn/simple
# 安装 CPU 依赖
pip install -r requirements-cpu.txt1.5 Precautions
- GPU, CPU Two Select One
- The GPU installation
CUDATOOLKITandCUDNNstrictly follow the tutorial, using other versions problems are not responsible for - After the installation, you can run the script with the environment variable in the
Conda
python main.py- If the computer has been installed before this tutorial, the following errors appear when running the script
ImportError: DLL load failed while importing onnxruntime_pybind_state: 动态链接库(DLL)初始化例程失败Please run the following instructions
pip uninstall onnxruntime-gpu
pip install onnxruntime-gpu==1.17
2 Background operation
2.1 Create users
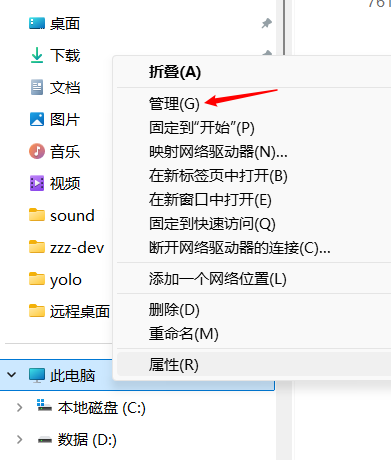
- Open the
explorer, right -click this computer, click the management, open thecomputer managementinterface
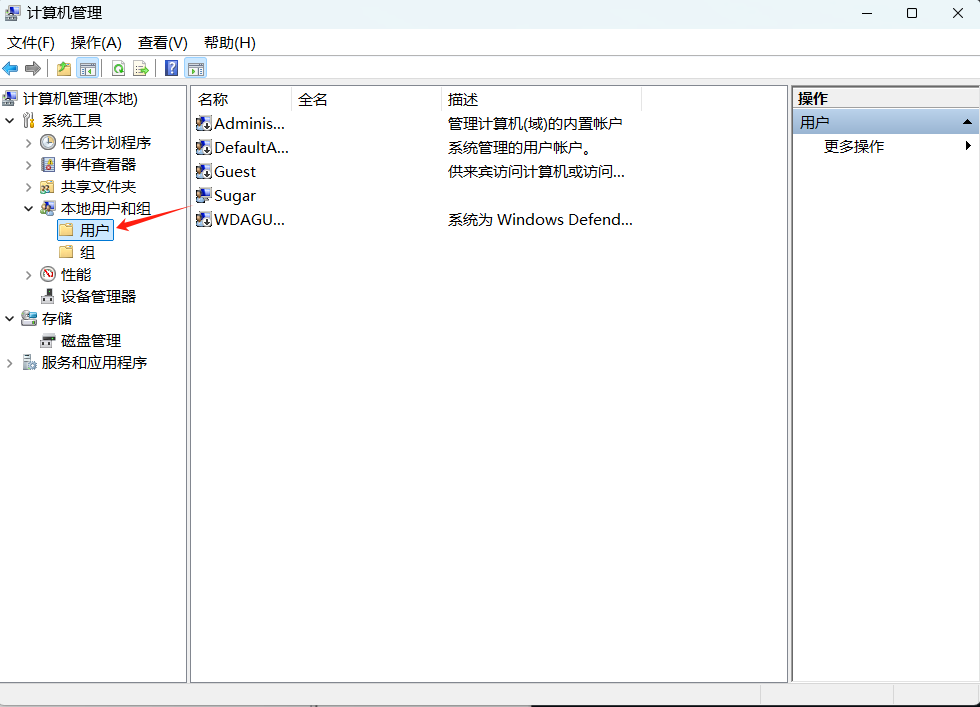
- Open the 'local user and group', right-click the
user, right-clickmenuandselect new users
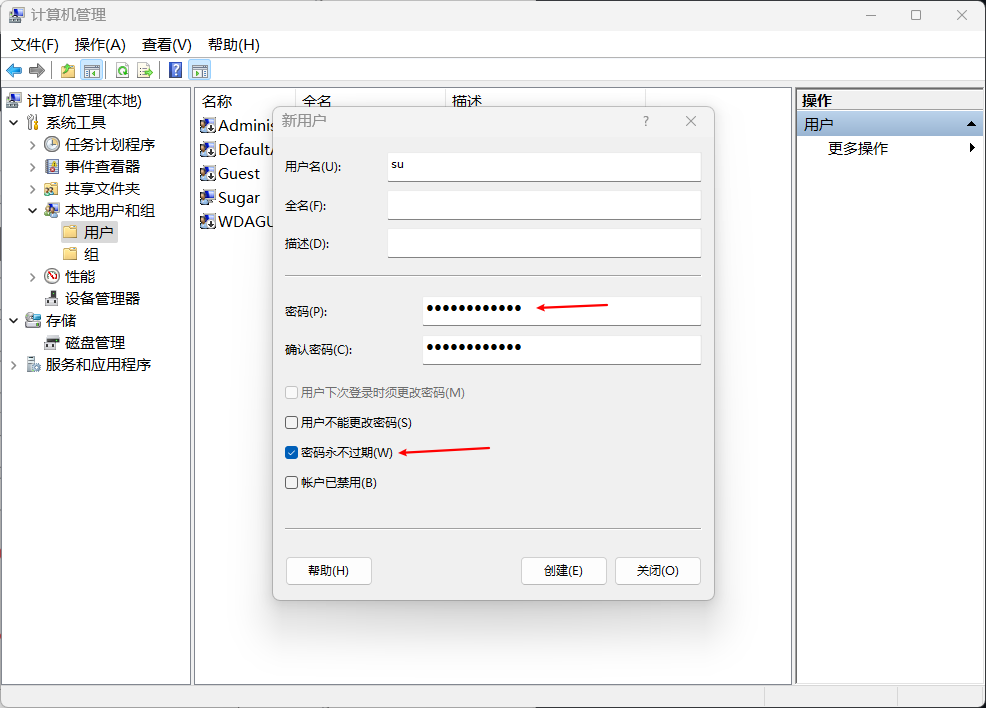
- Create a new user
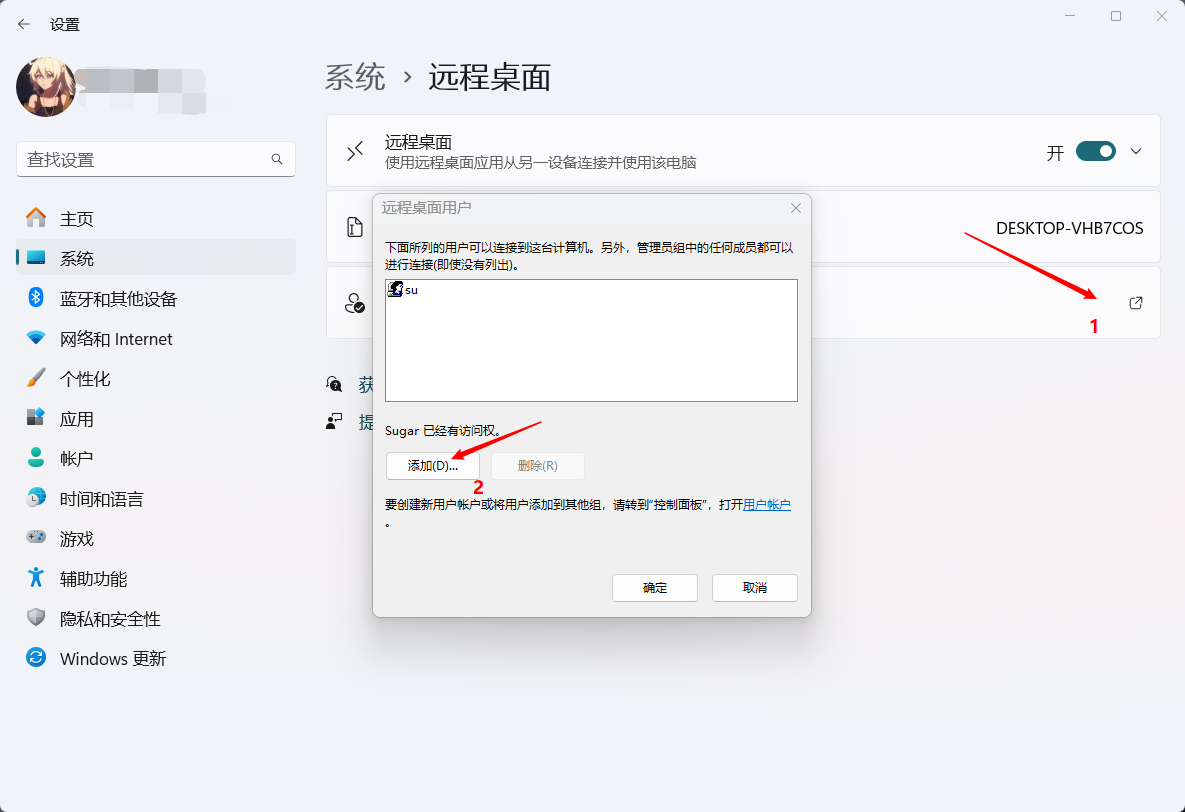
- Add remote desktop users, turn on the remote desktop, click on remote desktop users, click to add, add the newly built users in
2.2 Configure local group strategy
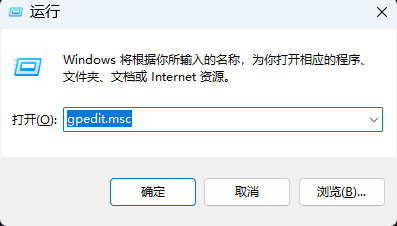
Windows + ROpen the running window, enter thegpedit.msc, open the local group strategy editor, as shown in the figure, click on
- Click the window according to the figure
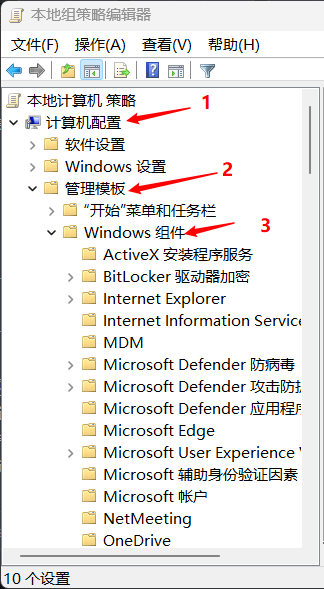
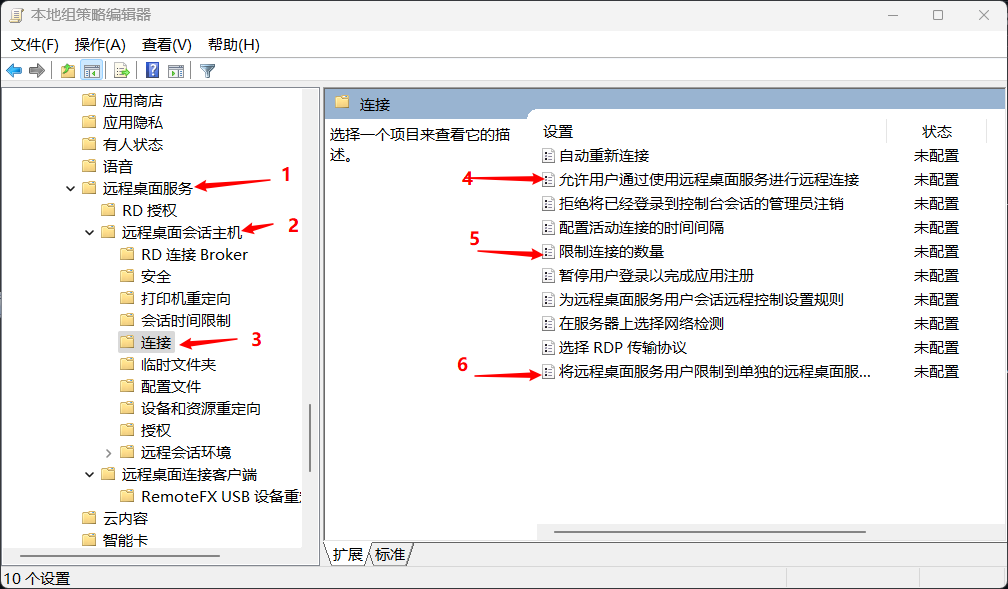
Select the following three configurations to modify
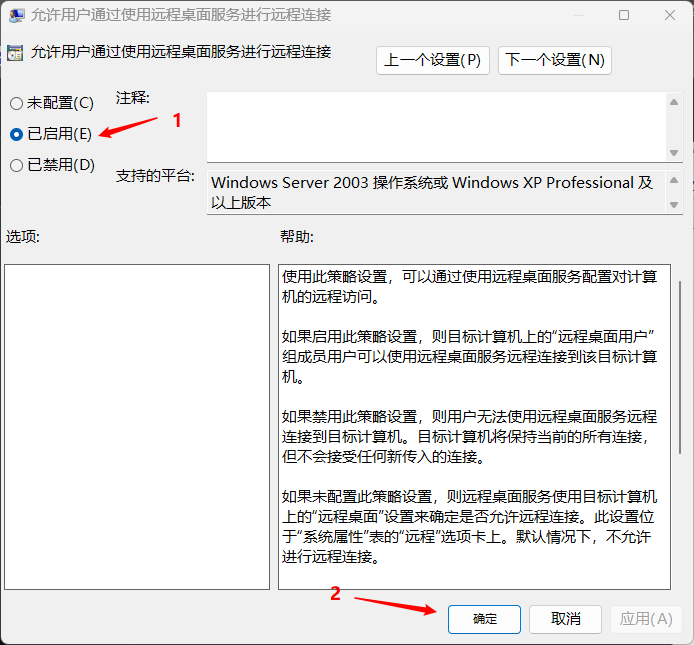
- Enable
Allow users to remotely connect through remote desktop services
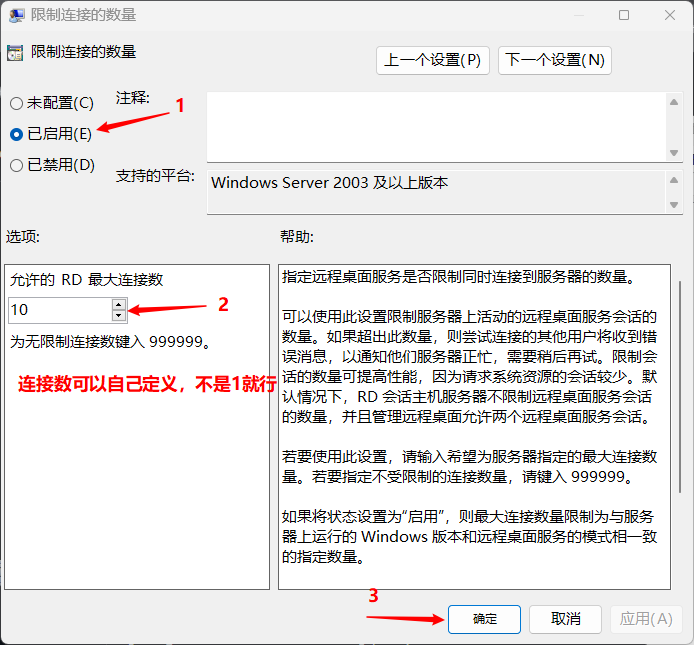
- Enable the
number of connections to limit the number of connections,The maximum number of RD connections allowedto depend on the situation
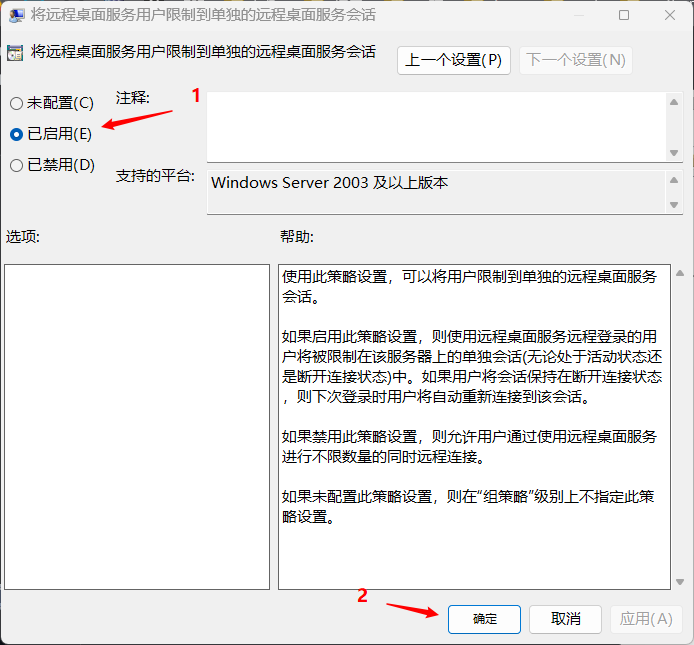
- Enable
to limit the remote desktop service users to a separate remote desktop service session
2.3Install RDPWRAP Patch
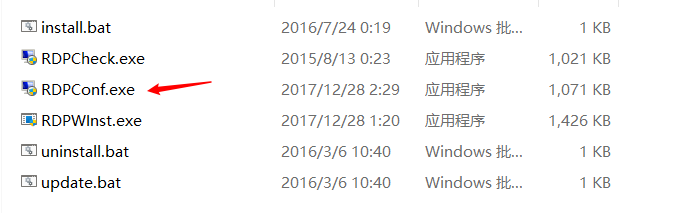
Downlaod RDPWrap,After decompression, it contains the following files. After right-click Install.bat, select Run as an administrator. At this time, the patch will be automatically installed
After installation, run as an administrator rdpconf.exe to view the support situation.
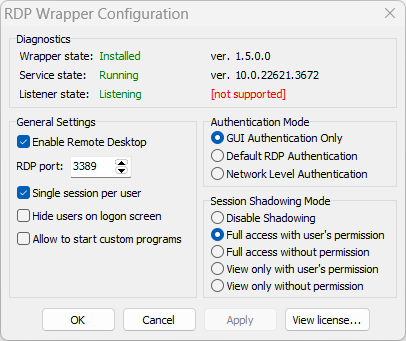
If the display Wrapper Sate shows the uncomfortable or displayed [not supported] The configuration file of the patch does not have the corresponding version configuration at this time, we need to update the configuration file
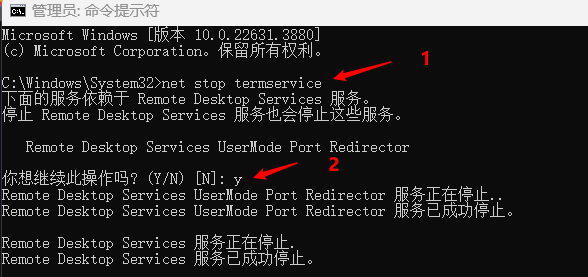
First open cmd as an administrator, enter the following commands to stop termservice
net stop termserviceThen use the text editor to open the C:\Program Files\RDPWrapper\rdpwrap.ini Configuration file, copy the content in the rdpwrap.ini to the above configuration file rdpwrap.ini
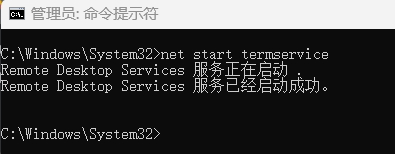
Save the file after replacement, and continue to enter the net start termService in cmd at this time
At this time, reopen the rdpconf.exe file should be all green
If there is still a red error, enter the folder after the patch decompressing, open the terminal, and enter the following command to restart the service
.\RDPWInst.exe -rtip
If it still doesn't work, please restart the computer and check again
2.4 Connect the local desktop
If there is no problem with all the above operations, you can remotely connect to the local desktop locally.
Open the remote desktop connection, enter the local loop address, such as 127.0.0.2
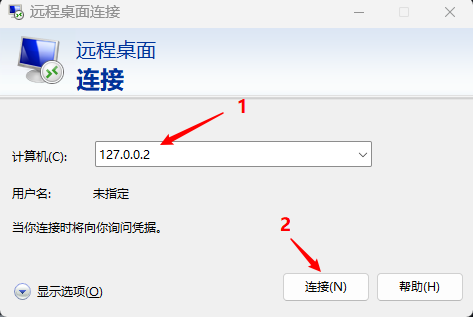
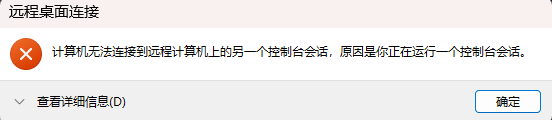
caution
Not to use 127.0.0.1, Otherwise, the following errors will be reported
Select the newly -built user, enter the password, connect to the remote client
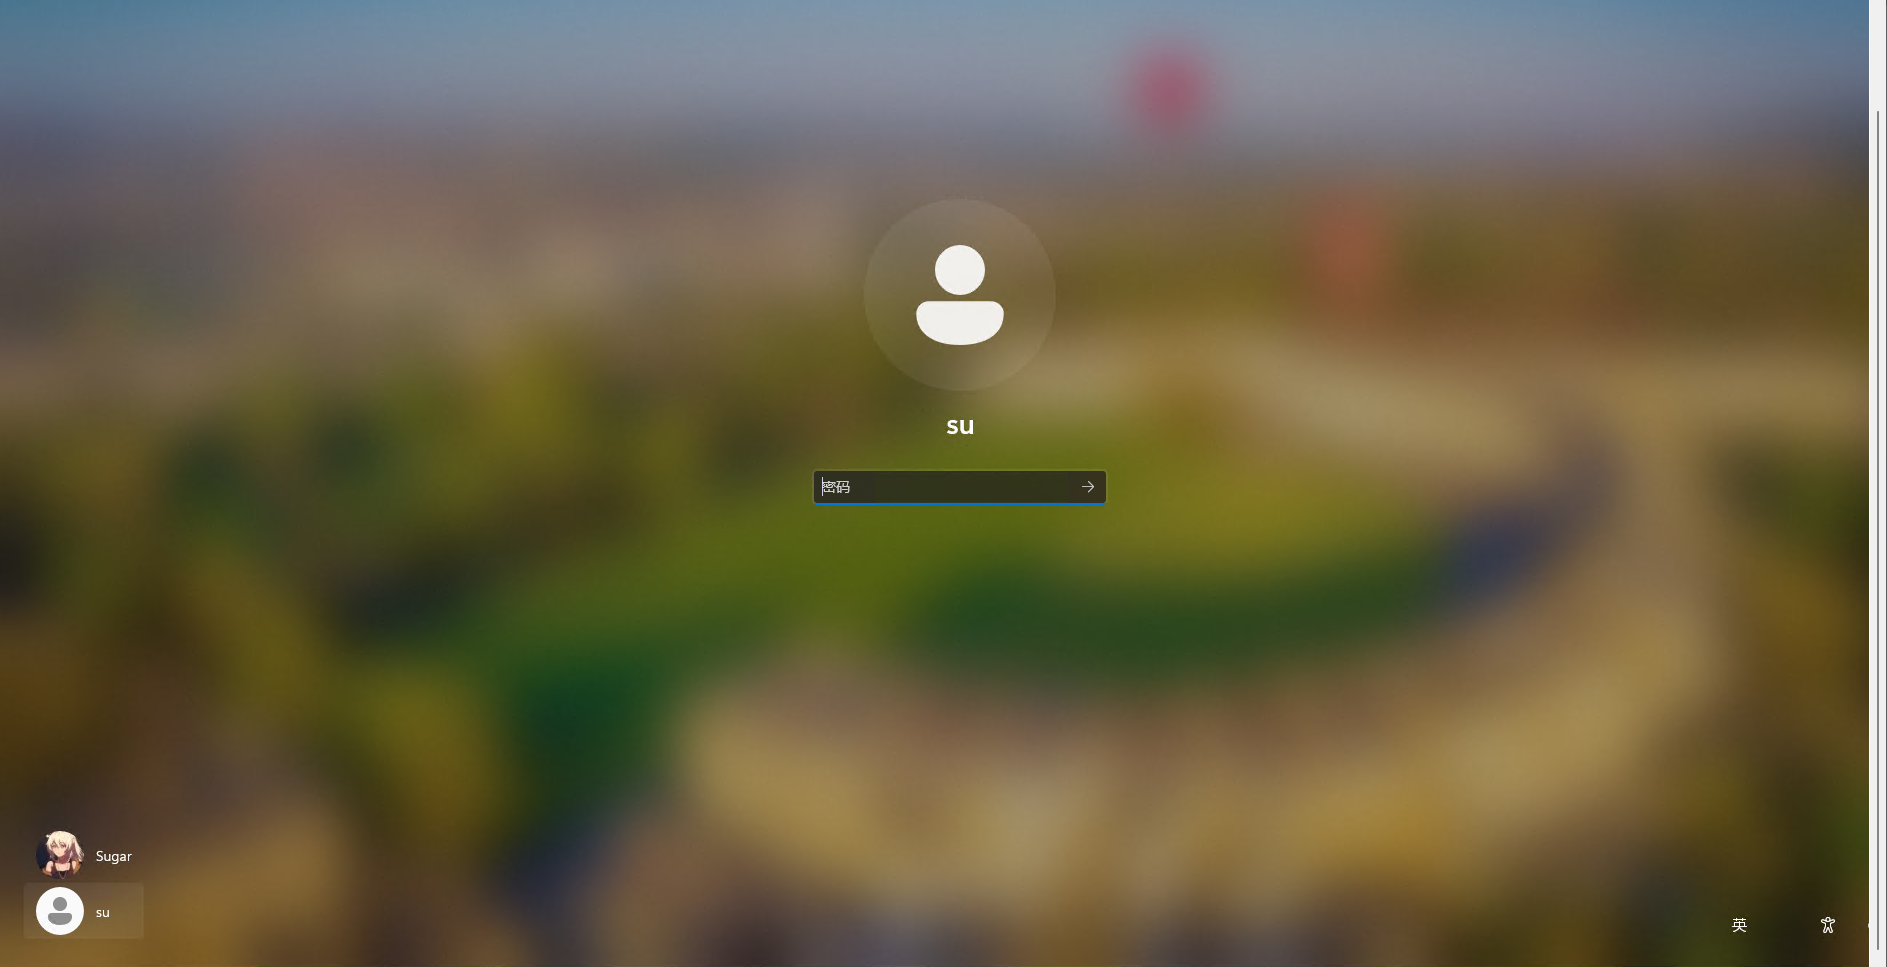
2.5 Start the game
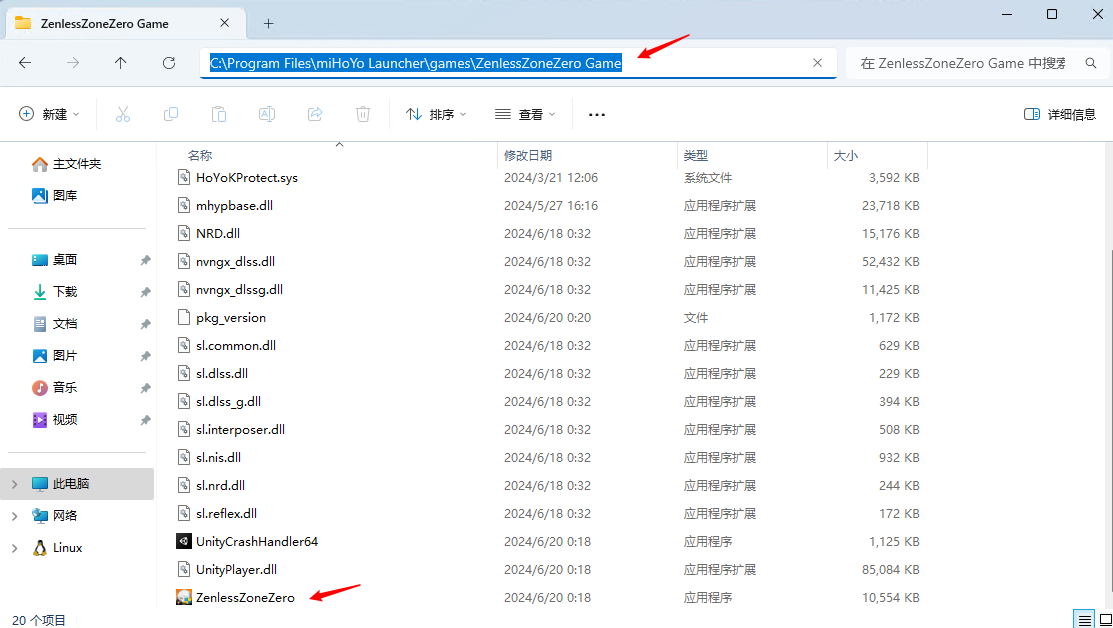
Because users who install games are not users used remote connection, there are no Mihayou promoters and Zero zero in the application of remote desktop.
Open the directory where the game is located, find the program of Zenless Zone Zero.exe, double -click to start
2.6 Use Script
Read Quick Start